In my ongoing quest to turn assigned tasks into deeper dives into learning opportunities and blog content, this time I’m looking at enabling encryption on Azure resources, more specifically on VM disks and more generally end-to-end between storage and compute.
To accomplish all of this, we’ll use a combination of Azure Key Vault to store the keys we generate (or import, but more on that later), Disk Encryption Sets to handle the encryption of Managed disks, and Azure Active Directory to handle the authentication of Disk Encryption Sets with the Key Vault.
Initial Considerations
First, it’s good to note that by default, an Azure VM’s OS disk is encrypted with an Azure-managed encryption key (called a platform-managed key, or PMK), so the data-at-rest is encrypted without you doing anything. According to MS Learn, “all managed disks, snapshots, images, and data written to existing managed disks are automatically encrypted at rest with platform-managed keys”. While this cannot be changed, it still leaves temp disks, disk caches, and the flow to storage clusters unencrypted. This is what we’re going to fix in this article.
You can either use the initially generated platform-managed key, or you can use your own customer-managed key (CMK). While they both ultimately accomplish the same thing, there are some considerations ranging from regulatory requirements to best practices to borderline tinfoil-hat reasoning, so before you proceed, it might be a good idea to make sure you’re following whatever requirements apply to you, as making changes later down the road may not be impossible, but it will most definitely be extra work. We don’t like that.
Azure Key Vault and Key Generation
Azure Key Vault is a cloud-based service that allows you to securely store and manage cryptographic keys, certificates, and secrets. It provides centralized key management that eliminates the need for developers to store keys in code or configuration files, reducing the risk of exposure. Azure Key Vault supports industry-standard algorithms and protocols, including RSA, AES, and HMAC, making it suitable for a wide range of scenarios.
As with many Azure resources, there are three ways to create a Key Vault: Portal, PowerShell, and Azure CLI. For a one-time task like this, Portal probably makes the most sense, but it’s always good to broaden your horizons, so we’ll use all three. Feel free to skip the ones you find unnecessary.
However before we can start doing things with the keys, we should enable the EncryptionAtHost property for our VM/VMSS’. This will likely take 10-15 minutes, so it’s good to get it started first. We can use the following PowerShell commands to enable EncryptionAtHost on our subscription:
1
2
3
4
5
6
7
8
9
#Enable the feature
Register-AzProviderFeature `
-FeatureName 'EncryptionAtHost' `
-ProviderNamespace 'Microsoft.Compute'

#Make sure that the state reads Registered
Get-AzProviderFeature `
-FeatureName 'EncryptionAtHost' `
-ProviderNamespace 'Microsoft.Compute'
Creation with Portal
- Open the Azure Portal and search for Key Vault
- Click on Create a fill in the details on your Key Vault. Pay particular attention to the following:
- Pricing tier
- Purge protection
- Access Policies
- Networking
- Once created, enter the Key Vault and click on the “Keys” tab and then click the “Generate/Import” button.
- In the “Create a key” blade, enter a name for the key and select the desired key type, such as RSA or EC, and the corresponding key size or Elliptic curve name. We’ll be setting the Key Type to RSA and RSA Key Size to 2048.
- Adjust the other settings according to your liking / needs
- Click on Create
Creation with PowerShell
- Open the PowerShell command prompt or CloudShell
- Connect to your Azure subscription using the
Connect-AzAccountcommand - Select the subscription you want to work with using the following command:
Select-AzSubscription -SubscriptionId <subscription-id> - Create a new resource group (if needed) using the following command:
New-AzResourceGroup -Name <resource-group-name> -Location <location> - Create a new Key Vault in the resource group using the following command:
New-AzKeyVault -VaultName <vault-name> -ResourceGroupName <resource-group-name> -Location <location> -Sku Standard - Create a new key in the key vault using the following command:
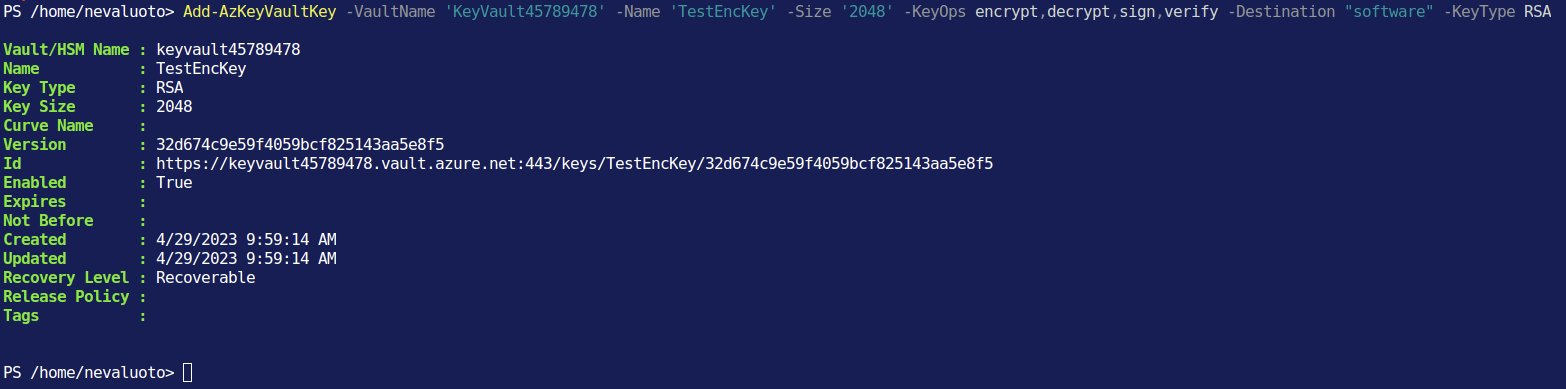
Add-AzKeyVaultKey -VaultName <vault-name> -Name <key-name> -Size '2048' -KeyOps encrypt,decrypt,sign,verify -Destination "software" -KeyType RSA
Full list of commands in a more readable format:
1
2
3
4
5
6
7
8
9
10
11
12
13
14
15
16
17
18
19
20
21
Connect-AzAccount

Select-AzSubscription `
-SubscriptionId '<subscription-id>'

New-AzResourceGroup `
-Name '<resource-group-name>' `
-Location '<location>'

New-AzKeyVault `
-VaultName '<vault-name>' `
-ResourceGroupName '<resource-group-name>' `
-Location '<location>' -Sku Standard

Add-AzKeyVaultKey `
-VaultName '<vault-name>' `
-Name '<key-name>' `
-Size '2048' `
-KeyOps encrypt,decrypt,sign,verify `
-Destination 'software' `
-KeyType RSA
Creation with Azure CLI
- Open the terminal or CloudShell
- Connect to your Azure subscription using the
az logincommand - Select the subscription you want to work with using the following command:
az account set --subscription <subscription-id> - Create a new resource group (if needed) using the following command:
az group create --name <resource-group-name> --location <location> - Create a new Key Vault in the resource group using the following command:
az keyvault create --name <vault-name> --resource-group <resource-group-name> --location <location> - Create a new key in the key vault using the following command:
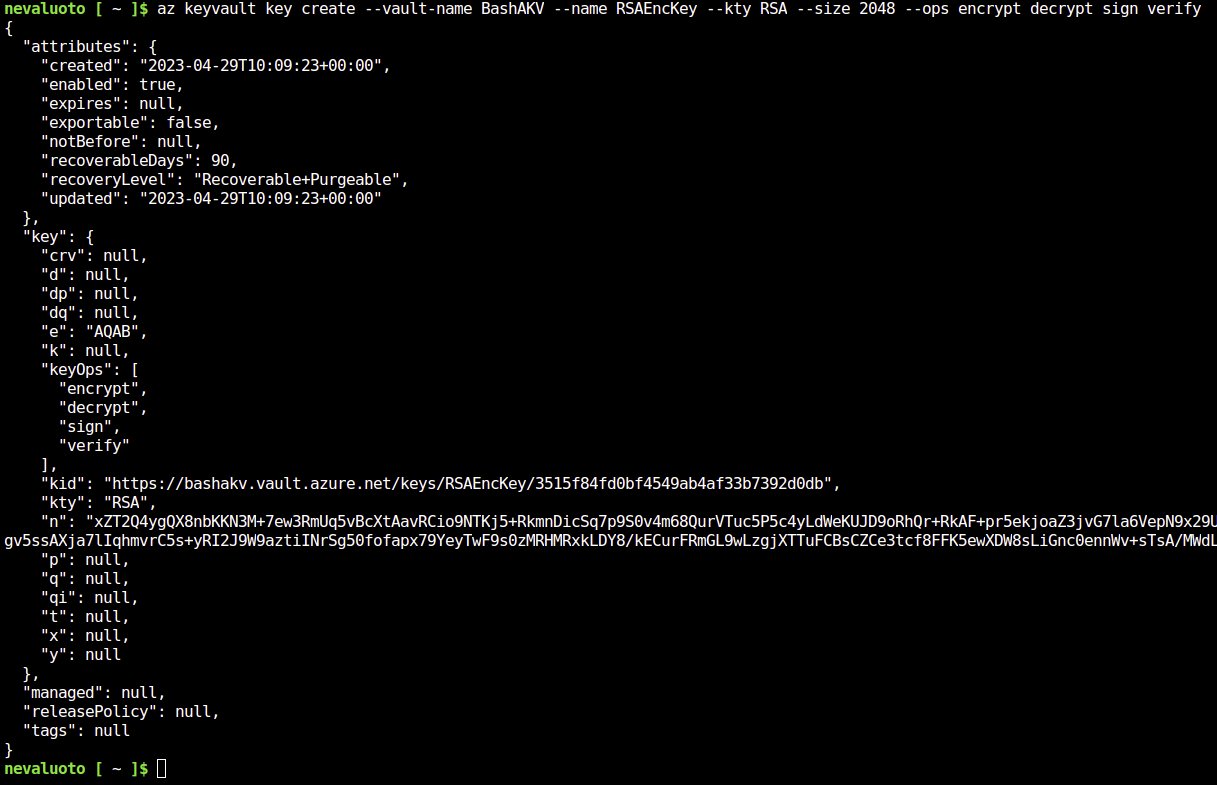
az keyvault key create --vault-name <vault-name> --name <key-name> --kty RSA --size 2048 --ops encrypt decrypt sign verify
Full list of commands in a more readable format:
1
2
3
4
5
6
7
8
9
10
11
12
13
14
15
16
17
az login

az account set --subscription '<subscription-id>'

az group create --name '<resource-group-name>' --location '<location>'

az keyvault create  \
  --name '<vault-name>' \
  --resource-group '<resource-group-name>' \
  --location '<location>'

az keyvault key create \
  --vault-name '<vault-name>' \
  --name '<key-name'> \
  --kty RSA \
  --size 2048 \
  --ops encrypt decrypt sign verify
Disk Encryption Sets
Before we can proceed with encrypting our resources, we also need to create a disk encryption set. Again, there are three ways to do this, but for the sake of brevity, I’ll just cover the Portal way and leave the PowerShell and CLI commands at the bottom. Feel free to read more in their documentation if you’d like to automate this process using either of them.
- Search for Disk Encryption Sets
- Click on Create
- Fill in the required fields, mainly:
- Encryption type - customer-managed key
- Key Vault (note that your Key Vault needs to have purge protection enabled)
- Key and its Version
With PowerShell this can be done with the following commands:
1
2
3
4
5
6
7
8
9
$config = New-AzDiskEncryptionSetConfig `
-Location '<location>' `
-KeyUrl 'https://<vault-name>.vault.azure.net/keys/<key-name>/<key-version>' `
-SourceVaultId '/subscriptions/<subscription-id>/resourceGroups/<resource-group-name>/providers/Microsoft.KeyVault/vaults/<vault-name>' `
-IdentityType 'SystemAssigned'

$config | New-AzDiskEncryptionSet `
-ResourceGroupName '<resource-group-name>' `
-Name '<encryption-set-name>'

And with the Azure CLI this can be achieved with:
1
2
3
4
5
6
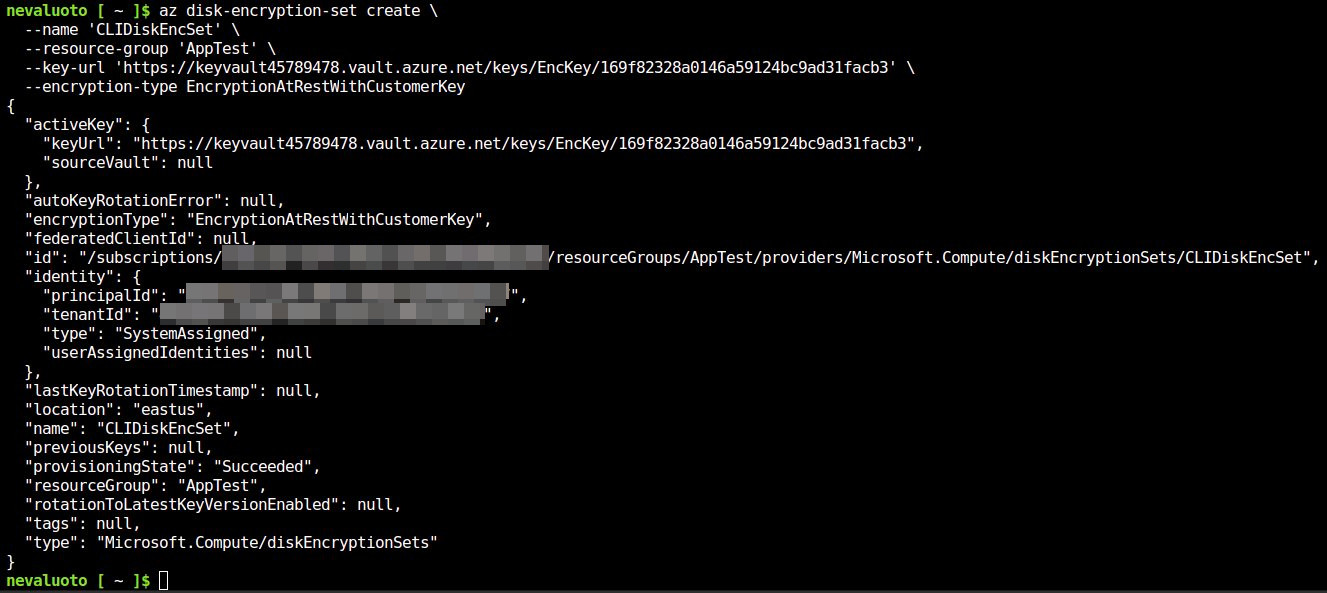
az disk-encryption-set create \
--name '<encryption-set-name>' \
--resource-group '<resource-group-name>' \
--key-url 'https://<vault-name>.vault.azure.net/keys/<key-name>/<key-version>' \
--source-vault '<vault-name>' \
--encryption-type EncryptionAtRestWithCustomerKey
With the Key Vault, key(s) and Disk Encryption Set created we can finally get to encrypting the VM disk(s). Like with many things in life, there are two paths: VM’s that exist, and VM’s that don’t. Let’s go over the simpler one first, the latter.
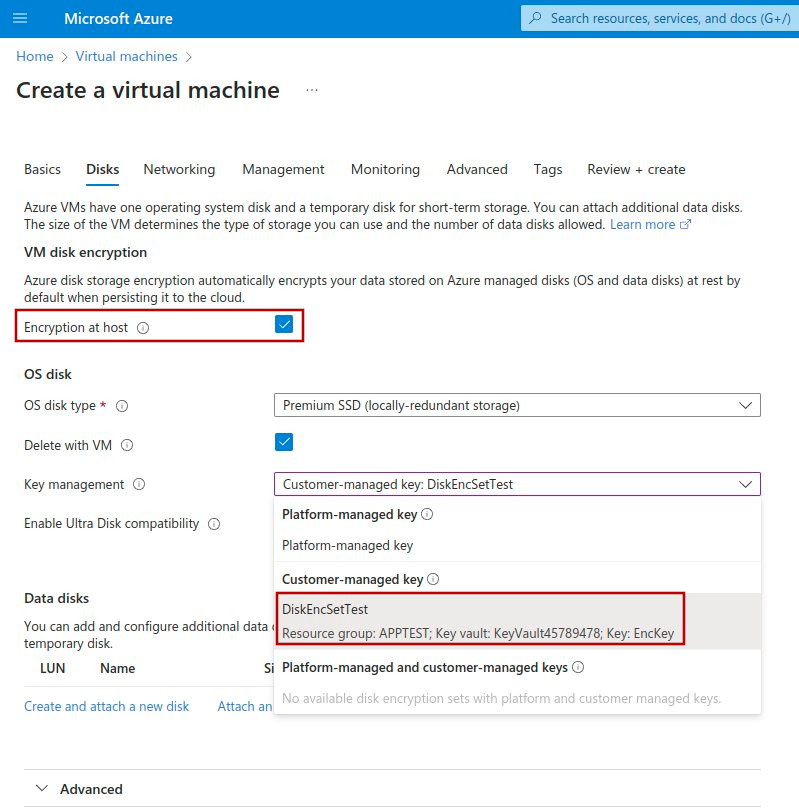
If you’re creating a new VM and want to use encryption at host, with the Key Vault, the key and encryption set already created this is as simple as enabling Encryption at host on the Disks tab of VM creation process, and selecting the correct Customer-managed key (which refers to the Disk Encryption Set). Once the VM is deployed the Disk will be visible in the Disk Encryption Set.
Existing VMs are a different beast, however, and while you can easily enable encryption with platform-managed keys, this is not possible with customer-managed keys, at least at the time of this writing. The encryption set can easily be enabled when creating a VM, but moving to it is simply not possible and would require re-deploying the VM(s) in question. Is it worth the effort? This actually takes us to…
Does Any of This Even Matter?
This is a question I ran into multiple times when researching CMK-based encryption: does it even make any difference? Now there’s obviously the tinfoil hat approach of “If you generate a key on Azure, how could you be reasonably certain that Microsoft doesn’t have access to that key anyway?”, which I suppose can be countered by showing all the compliance certifications, hardware-based FIPS 140-2 Level 2 validated HSMs and general RBAC with auditing and logging, but I reckon even more important question is if any of this matters compared to just running with PMK’s.
The general consensus seems to be virtually no. Microsoft itself doesn’t really lean one way or the other, essentially saying that using your own keys makes it a bit easier to rotate them, which then begs the question “Does it make sense to rotate encryption keys for no good reason? The answer is probably no. Sure, it’s all automated, but almost on a philosophical level, does it make a difference?
So, did I just spend almost 1800 words writing about something that’s borderline unnecessary, adds a new weak link to the chain, and provides no tangible benefit? Well, yes, sort of, but at the same time the Key Vault can and should be used to secure many other keys and secrets, such as keys used to encrypt the contents of an application running outside of what Azure provides. All in all, even if the use of the system, and more specifically the customer-managed keys, is a bit less useful for what I originally intended, the experience with the system will certainly be beneficial in the end.
Conclusion
Using Azure Key Vault to store custom encryption keys offers several potential benefits. First, it provides a secure and centralized location to store cryptographic keys, eliminating the need to store keys in code or configuration files. Second, it ensures that only authorized individuals or processes can access the key, reducing the risk of exposure. Finally, it allows you to easily manage and rotate keys as needed, potentially ensuring that your data remains secure over time.
But as contemplated, will these be real benefits, or will they end up being obstacles that create a new potential point of failure? In terms of storing keys outside of code and configuration files, the answer is simple, but using your own keys versus using PMK’s may not be as clear. So again, it’s an “it depends” situation where only you can find the right answer.
Personally, I found this assignment to be a great deep dive into Azure Key Vault, and while I will be sticking with the platform-managed keys at least for the time being, knowing and being able to use my own keys in practice to achieve the desired end result is a great tool for future needs.