My on-premises (read, at home) file server recently crossed a total, parity-protected storage of 70 TB, and that’s starting to make me a little uncomfortable, but at the same time I fully understand that running a backup for that is rather cost-prohibitive, especially considering the value - or lack thereof - of the content I’m storing. However like everyone else, I do have personal files that I’m willing to make sure won’t be lost, because been there, done that.
Current Setup and Current Needs
At the moment the amount of data I really need to make sure stays existent is rather small, around 200 GB, and it resides mainly on my UnRaid box, with a daily backup going to a local NAS, which effectively physically sitting on top of the other one. Not optimal, but it is what it is.
Since the amount of data grows slowly there no need to panic about the off-site backups, so this is done automatically every Sunday to Backblaze B2. Currently I pay about one dollar a month for the storage, with a restore cost of $0.01/GB. A cost that’s not entirely irrelevant, but since this is the kind of “house burned down” level of backup it’s not going to matter that much since it’s very unlikely to ever be incurred - and if it does, I’m more than happy to pay for it. But could I do better? Let’s look at Azure Blob Storage and its relevant tiers for comparison.
| Backblaze B2 | Azure Cool | Azure Archive | |
|---|---|---|---|
| Data Storage PAYG | $0.005 per GB | $0.01 per GB | $0.00099 per GB |
| Data Retrieval (per GB) | $0.01 per GB | $0.01 per GB | $0.02 per GB |
| Write operations (per 10,000) | $0.004 | $0.013 | $0.013 |
These prices will differ based on the region, here I’m using North Europe for Azure with LRS.
I’ll skip over some features here as they’re rather unnecessary considering the need, but looking at these key pricing points it’s clear that while data retrieval is twice as expensive, and write operations are more expensive, the actual storage is fifth of the price. Considering the infrequent need for anything other than storage this is starting to look very good, so let’s set it up and see how things work.
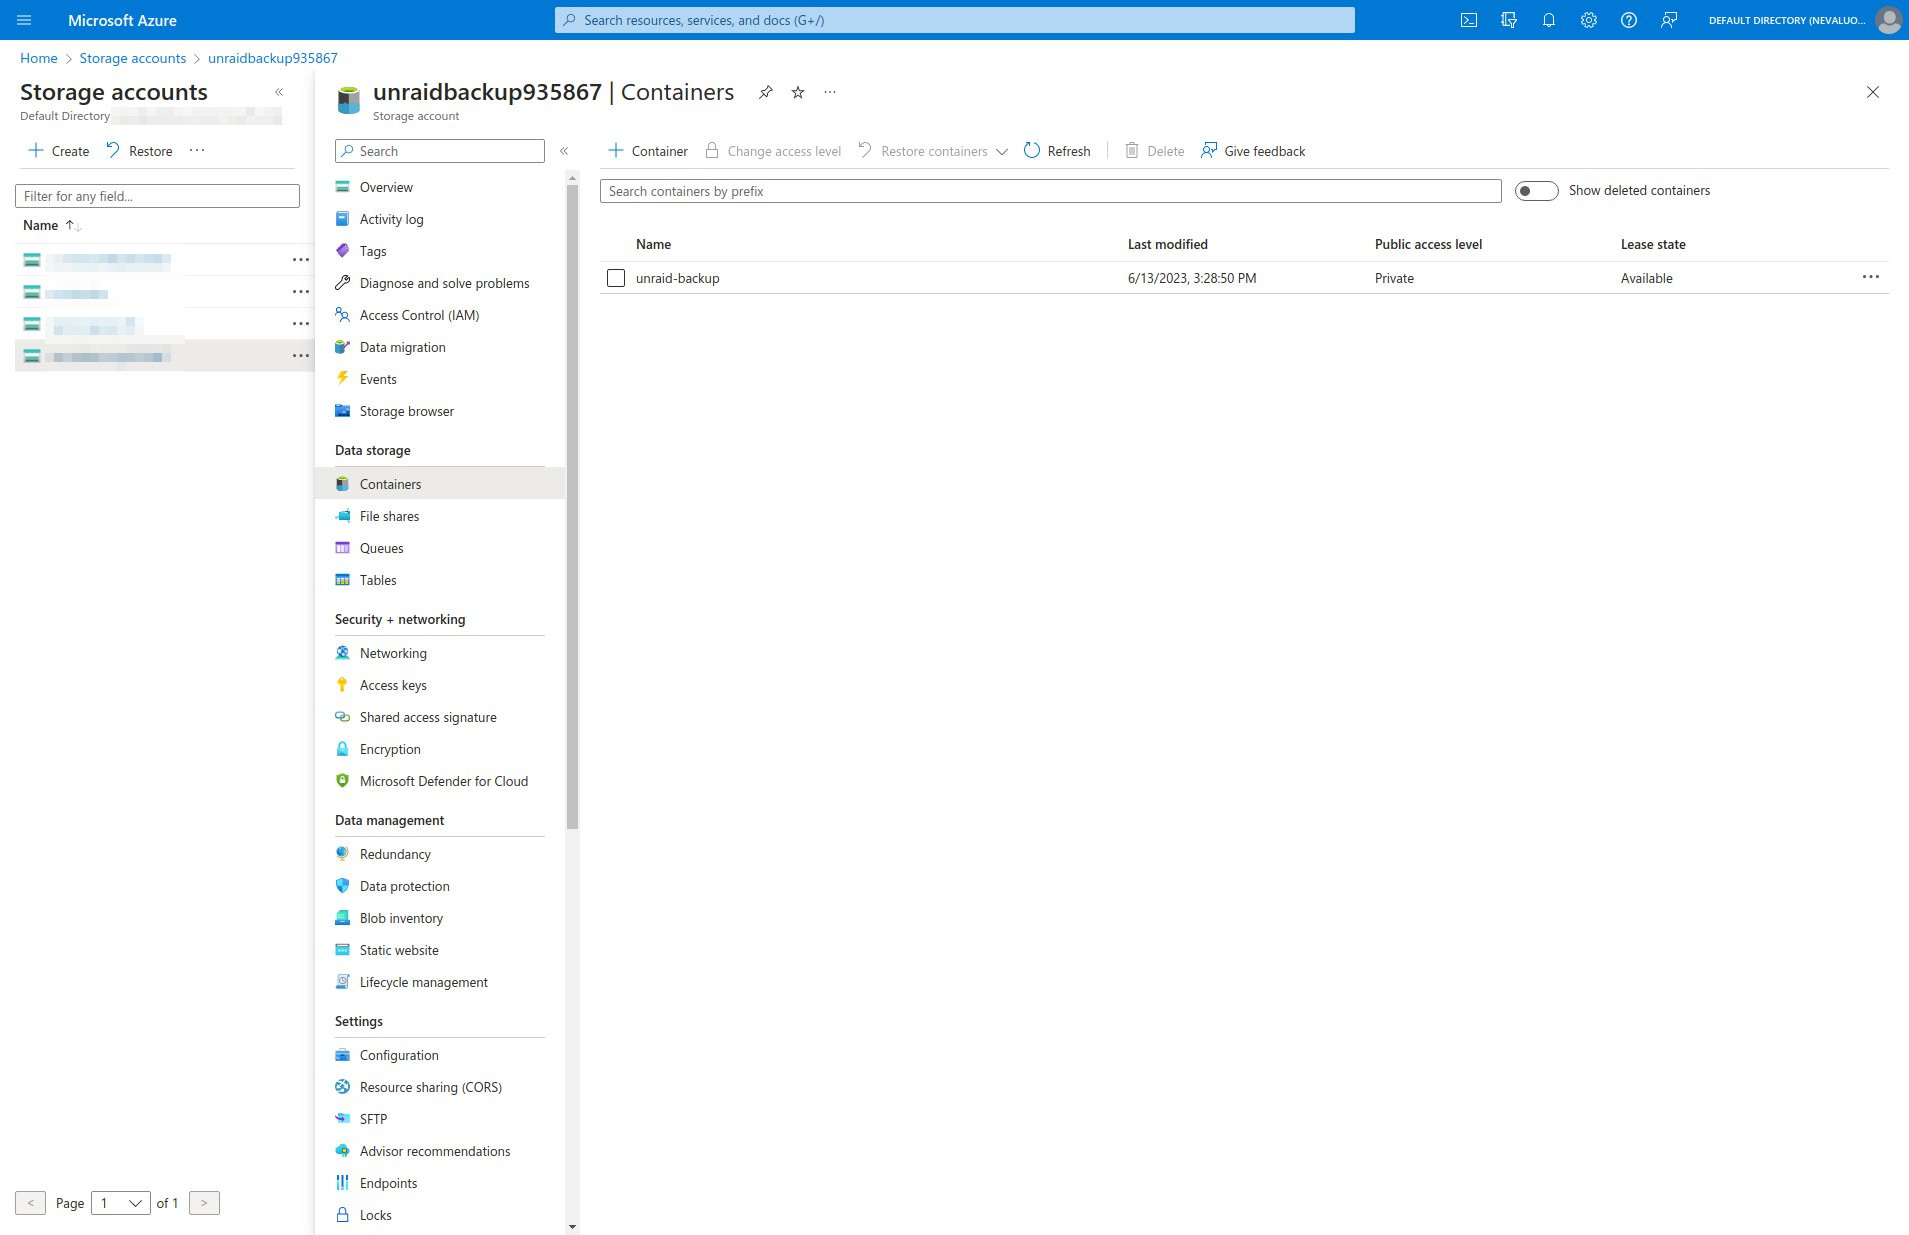
Creating Azure Blob Storage
Something like this would likely be easier to just be done via the Azure Portal, but it’s always good to learn to work with the CLI so as usual at this point I will be using both the CLI and PowerShell to create the necessary resources. Feel free to pick your poison.
Let’s start off by creating a new Resource Group for our project with the following command:
1
az group create --name <resource-group-name> --location "North Europe"
1
2
3
New-AzResourceGroup `
-Name "<resource-group-name>" `
-Location "North Europe"
In addition, we can also set the context for some of the variables that we’ll be using again and again, as shown below:
1
2
3
$storageContext = New-AzureStorageContext `
-StorageAccountName "<storage-account-name>" `
-StorageAccountKey "<storage-account-key>"
Next let’s create our Storage Account. We’ll make sure to only use Locally Redundant Storage (LRS) and enable Hierarchical Namespace. Feel free to adjust these according to your own needs.
1
2
3
4
5
6
7
8
az storage account create \
  --name <storage-account-name> \
  --resource-group <resource-group-name> \
  --location "North Europe" \
  --kind StorageV2 \
  --sku Standard_LRS \
  --hns true \
  --access-tier Cool
1
2
3
4
5
6
7
8
New-AzStorageAccount `
-Name "<storage-account-name>" `
-ResourceGroupName "<resource-group-name>" `
-Location "North Europe" `
-SkuName "Standard_LRS" `
-Kind "StorageV2" `
-EnableHierarchicalNamespace $true `
-AccessTier "Cool"
Next we need to create our file container. You could skip the account-key with the CLI as well as it’ll be automatically queried for, but the CLI will yell at you for that. For PowerShell this was set as a variable and will be used that way.
The public access value can be off, blob or container, which means no anonymous access, anonymous access to blobs only and anonymous access to container and blobs respectively.
1
2
3
4
5
az storage container create \
  --name <container-name> \
  --account-name <storage-account-name> \
  --account-key <storage-account-key> \
  --public-access <public-access-level>
1
2
3
4
New-AzStorageContainer `
-Name "<container-name>" `
-Context $storageContext `
-Permission "<public-access-level>"
Uploading Files to Archive Tier Storage
Everything seems to be up and running, so let’s test file upload with a single file first. I’ll upload a simple text file and set the tier to Archive, since the idea is to just store everything in the Archive tier from the start, but we’ll talk about automating tier switching later.
1
2
3
4
5
az storage blob upload \
  --account-name <storage-account-name> \
  --container-name <container-name> \
  --file <filename> \
  --tier Archive
1
2
3
4
5
Set-AzStorageBlobContent `
-Context $storageContext `
-Container "<container-name>" `
-StandardBlobTier Archive `
-File $filePath
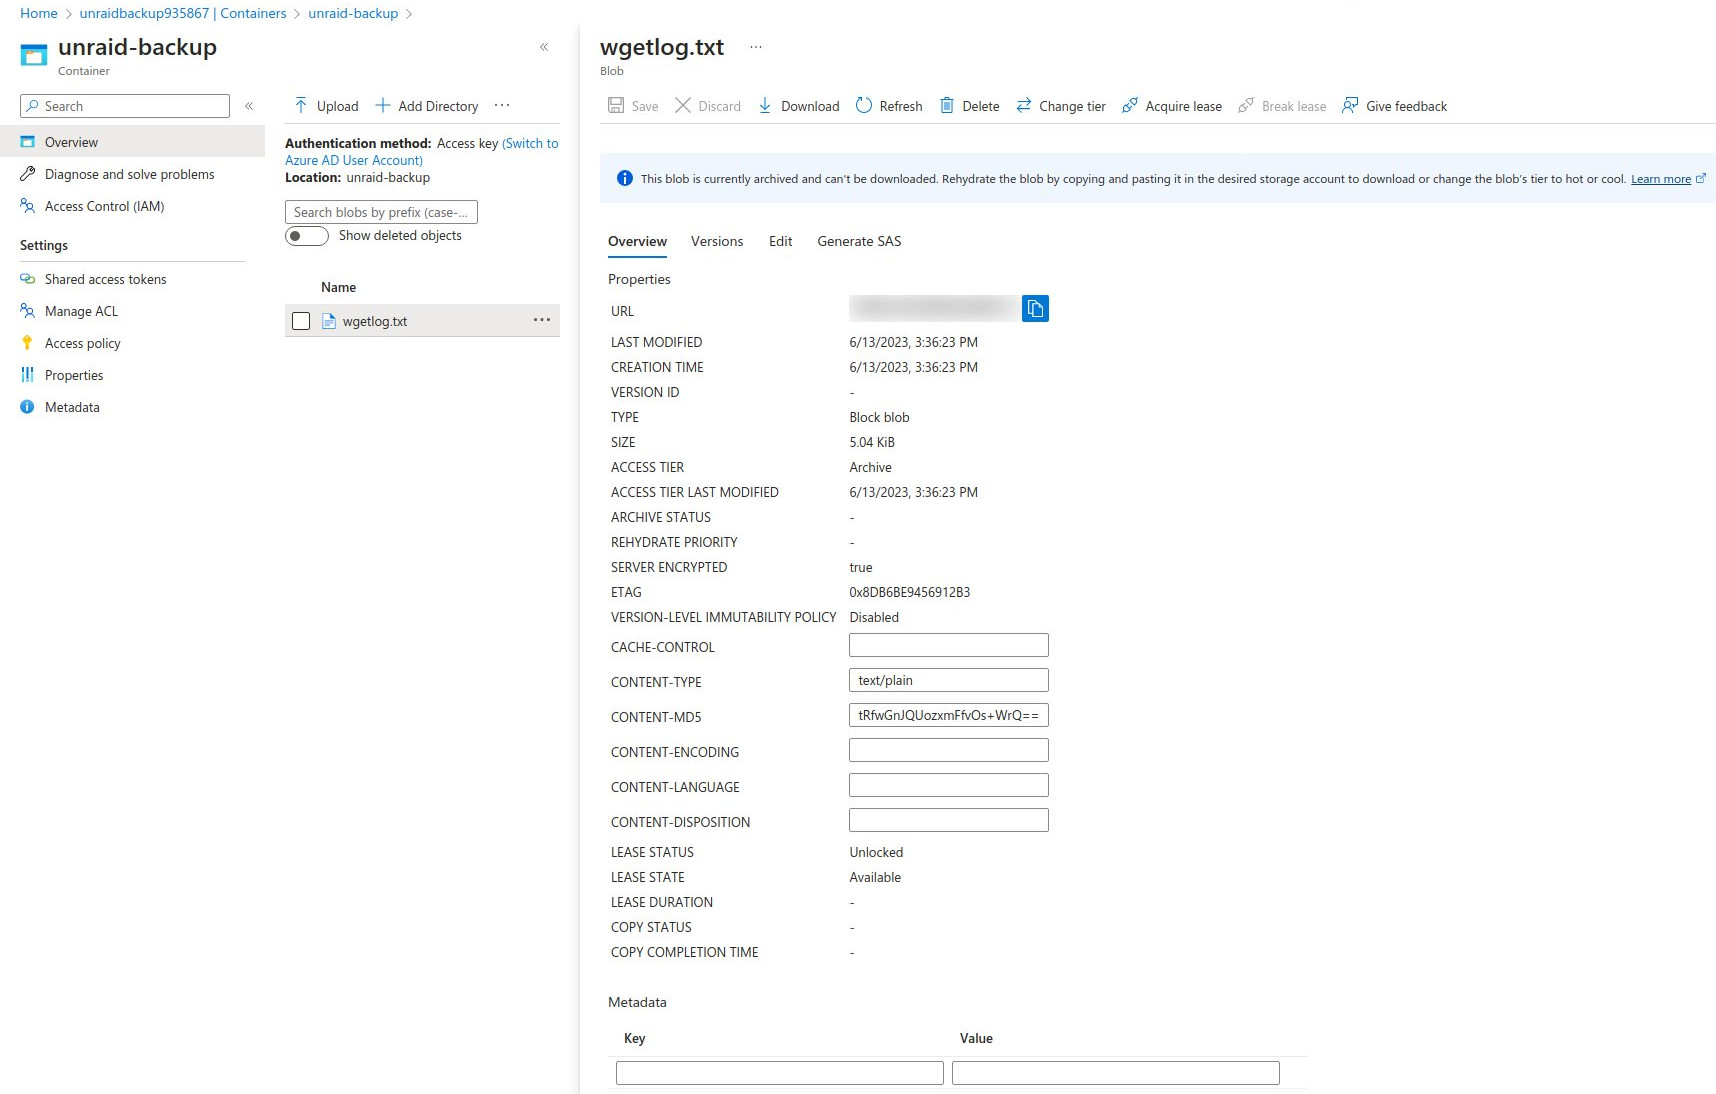
And there we go! The file was uploaded to Archive and needs to be rehydrated in order to be retrieved. We probably don’t want to upload files one at a time, so we can upload an entire directory with the following command:
1
2
3
4
5
az storage blob upload-batch \
  --account-name <storage-account-name> \
  --destination <container-name> \
  --source <source-directory> \
  --tier Archive
At least as of this writing, there is no PowerShell cmdlet for batch uploading, so while it’s certainly possible to write a script that loops through a directory and uploads the files using Set-AzStorageBlobContent, I think that’s a project for another day.
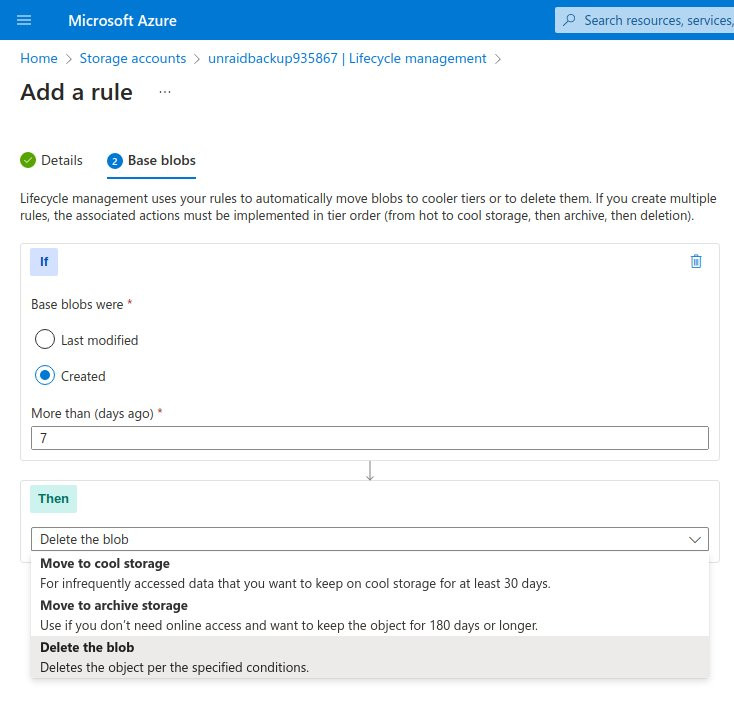
Lifecycle Management
In some cases, however, we may not want to push everything directly to archive, and that’s where lifecycle management comes in. In short, it’s a way to automate the tiering of files, so let’s say we want to make sure that we have immediate access to the data in the Hot tier for the first week after it’s uploaded, just in case, and then it’s moved down to the Cool (or the new Cold) tier, or even the Archive tier, this is how we do it.
Lifecycle management is done at the storage account level, and it’s pretty straightforward: choose between Last Modified and Created, set the number of days, and select the action. Honestly not a whole lot to it, but it’s a really powerful way to get savings in storage costs - as long as it’s used appropriately, given how the lower the cost to store, the higher the cost to retrieve is.
Conclusion
While using Azure Blob Storage’s Archive Tier seems like a somewhat unconventional backup solution, especially for home use, it can definitely be worked with and could provide great savings over other vendors such as Backblaze.
Truth be told, I’ll probably just keep using Backblaze and use Azure as a backup for that, considering the cost of storing my rather meager amount of important files is negligible. I’m pretty much maxing out my 500 Mbps upload, which I can’t really say for Backblaze, so that’s definitely nice as well.