The other day like a week ago now, gosh, I took part in a webinar that gave an overview of Azure Arc and Azure Sentinel, and while I’ve recently been somewhat busy with Sentinel related things in general, Arc has been something that I know of, and understand the basic idea of, but have never actually done anything with. For “homework” we were told to enroll a computer or two to Arc - after all, that part is all free. And yes I know, I know, no free lunches and all that, but I had some physical boxes as well as few VPS’ so I decided to give the thing a go, and I must say, the whole setup was an absolute breeze. So let’s go over it!
Preparing Your Server(s) and Environment
First things first, Arc does support both physical and virtual servers, and while 32-bit architectures are not supported, the list of up-to-date systems that are is quite comprehensive:
- Windows Server 2008 R2 SP1, 2012 R2, 2016, 2019, and 2022
- Both Desktop and Server Core experiences are supported
- Azure Editions are supported on Azure Stack HCI
- Windows 10, 11 (see client operating system guidance)
- Windows IoT Enterprise
- Azure Stack HCI
- CBL-Mariner 1.0, 2.0
- Ubuntu 16.04, 18.04, 20.04, and 22.04 LTS
- Debian 10 and 11
- CentOS Linux 7 and 8
- Rocky Linux 8
- SUSE Linux Enterprise Server (SLES) 12 SP3-SP5 and 15
- Red Hat Enterprise Linux (RHEL) 7, 8 and 9
- Amazon Linux 2
- Oracle Linux 7 and 8
Most of my stuff runs on Debian 10 or 11, so that’s what I’ll be using in this guide, but to be fair it’s all pretty straightforward anyway. For the preparation of the OS, on Windows you’ll need to make sure that NET Framework 4.6 and Windows PowerShell 4.0 or later are installed, and on Linux you’ll need the following:
- systemd
- wget (to download the installation script)
- openssl
- gnupg
Chances are you already fulfill all the requirements.
On Azure’s side you need to make sure that you have Azure Connected Machine Onboarding or Contributor role for the resource group where you’re managing the servers in order to onboard the servers, and to read, modify, and delete a machine, you must have the Azure Connected Machine Resource Administrator role for the resource group. When generating the onboarding script you’ll also need the Reader role for that resource group (or another role that includes Reader access).
Also make sure to have the following Azure resource providers active, although they should be on by default:
- Microsoft.HybridCompute
- Microsoft.GuestConfiguration
- Microsoft.HybridConnectivity
- Microsoft.AzureArcData (if you plan to use Arc-enable SQL Servers)
In case they are not, you can enable them via the Portal or by using the following commands:
1
2
3
4
5
6
Connect-AzAccount
Set-AzContext -SubscriptionId [subscription you want to onboard]
Register-AzResourceProvider -ProviderNamespace Microsoft.HybridCompute
Register-AzResourceProvider -ProviderNamespace Microsoft.GuestConfiguration
Register-AzResourceProvider -ProviderNamespace Microsoft.HybridConnectivity
Register-AzResourceProvider -ProviderNamespace Microsoft.AzureArcData
1
2
3
4
5
az account set --subscription "{Your Subscription Name}"
az provider register --namespace 'Microsoft.HybridCompute'
az provider register --namespace 'Microsoft.GuestConfiguration'
az provider register --namespace 'Microsoft.HybridConnectivity'
az provider register --namespace 'Microsoft.AzureArcData'
Generating the Onboarding Script
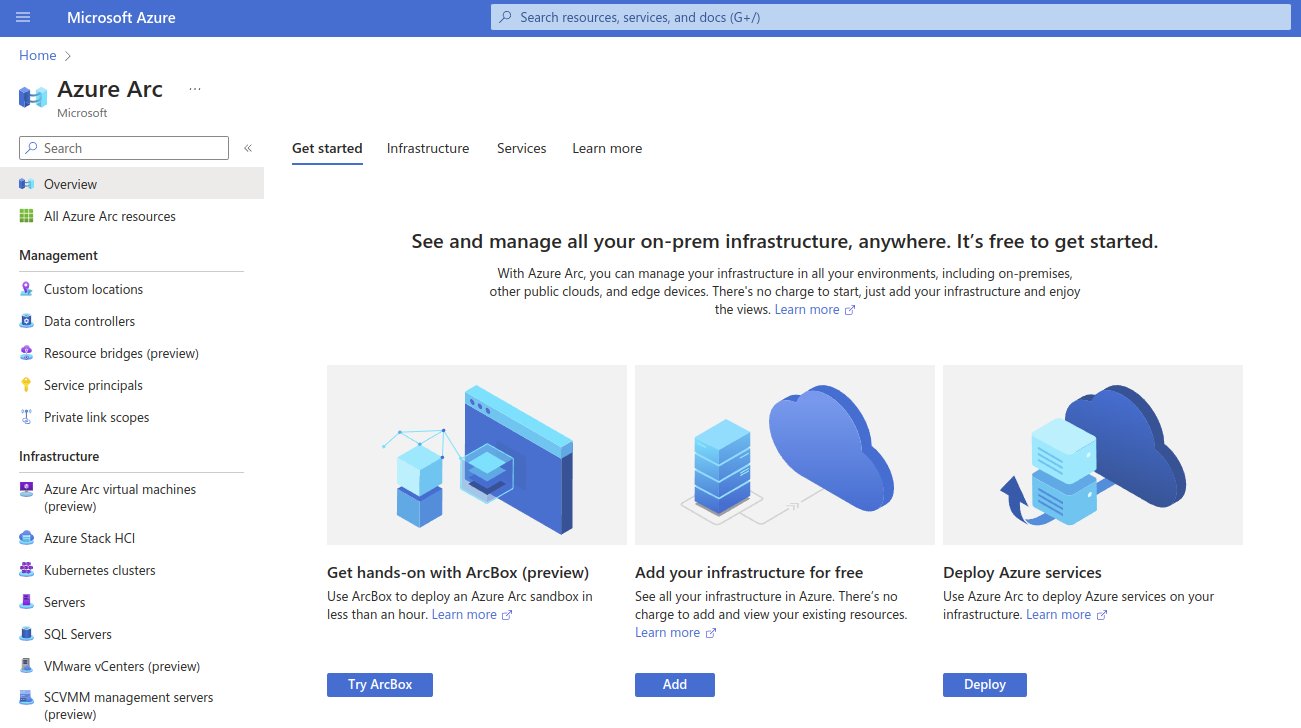
Once your servers and Azure environment are ready, navigate to Azure Arc in the Portal and select Add your infrastructure for free. There are multiple options for enabling Arc on your existing infrastructure, but we’ll just be a adding a simple server so we’ll do just that.
You have the option to onboard multiple servers at once by using a service principal for the server authentication, which is obviously great if you’re interested in moving lots of them, but for a single enrollment we’ll just select Add a single server.
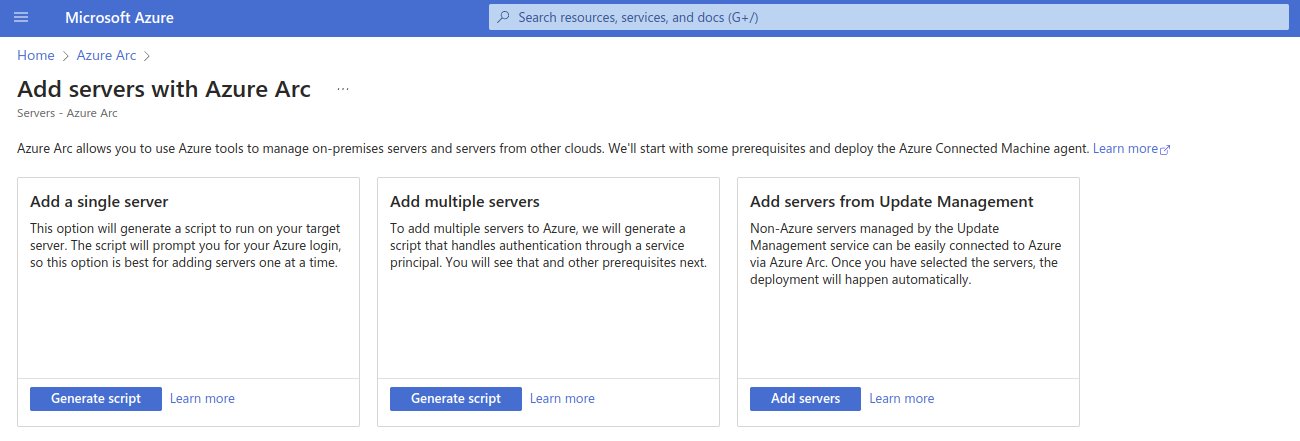
You’ll be needing a local administrator access to the server in question, and either direct connection to the internet, a proxy or a private endpoint. To make things easy here we’ll just use a public endpoint as the VM we’re going to onboard is publicly accessible.
Fill in the details like with any other resource deployment, add some tags for billing and monitoring purposes and finally download / copy the onboarding script. This script can easily be added to the server over SSH using nano vi. Make sure that you select your OS correctly, as the PowerShell and Bash script are not interchangeable.
Start the onboarding process
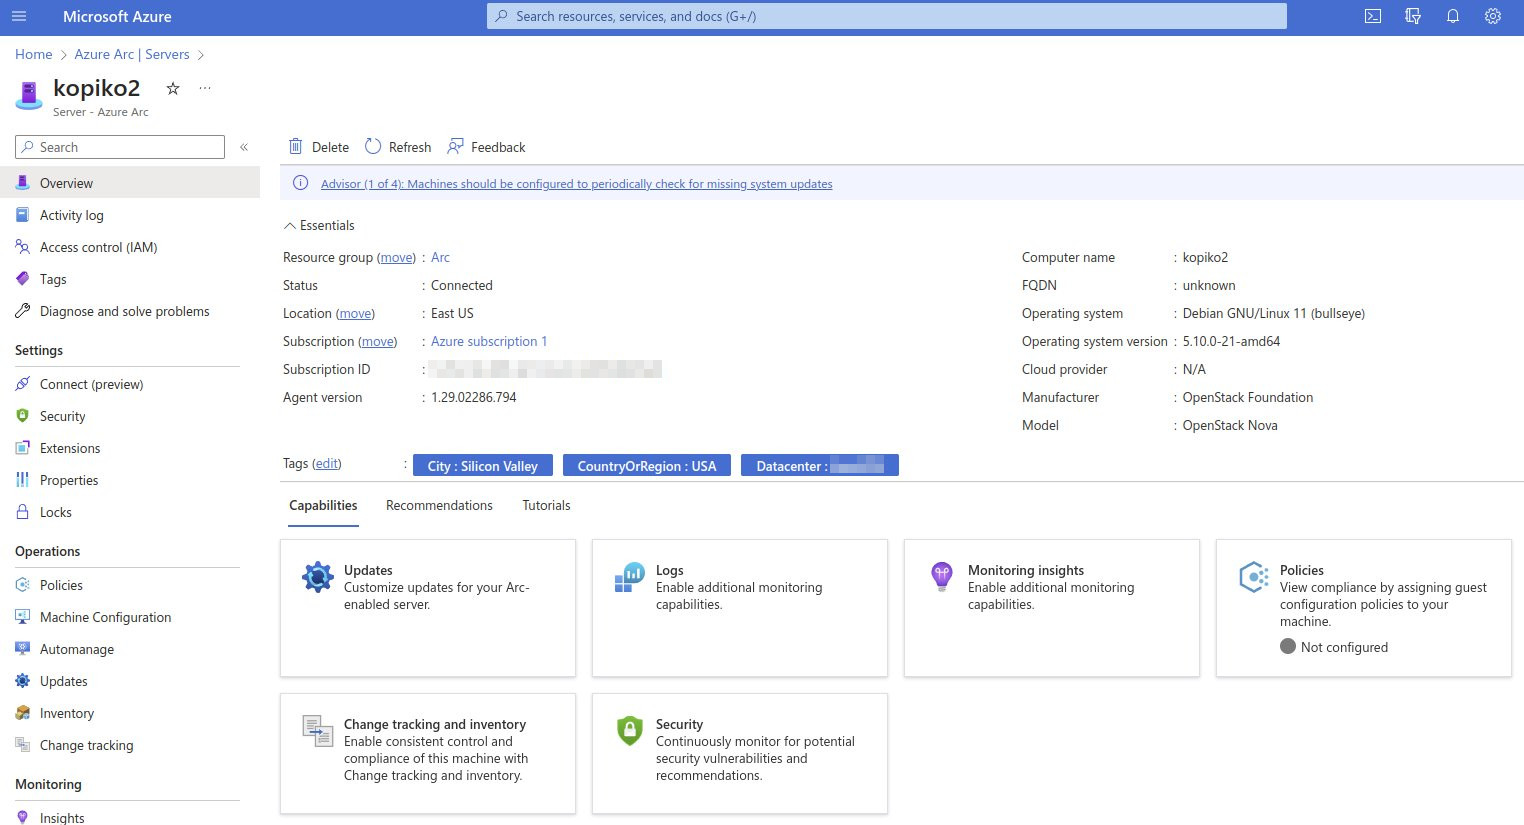
Once you run the script it’ll get to work by installing the agent and running some commands to add the server to your Azure resources. At some point you’ll be prompted to enter aka.ms and input the verification code shown in the terminal. Once this is done the process is finished, and your server will show up in Azure Arc and be ready. Next you’ll probably want to make sure that your update schedule is correct, and then move on to Defender for Cloud. And speaking of which…
Enabling Defender for Cloud
This is the part where “free” turns to “well, actually…”. While onboarding as many servers as you want and running updates on them is free, you’ll very quickly run into paywalls. Luckily not all is lost, as the Foundational Cloud Security Posture Management (CSPM) offering the core posture management capabilities is available free of charge. With this service you get
- Continuous assessment of the security configuration of your cloud resources
- Security recommendations to fix misconfigurations and weaknesses
- Secure score summarizing your current security situation
Bumping up to Cloud Workload Protection (CWP) costs at the moment $15/server/mo, with SQL servers having their own extra costs associated, so if you’re just trying things out you’re probably all good at this point.
The free Defender for Cloud plan can be enabled by simply entering the Defender page in the portal, and skipping the upsell of a Defender plan. The plans will obviously include much more useful features, but getting started is free.
Conclusion
While this is obviously just a quick foray into Arc in general, and barely touches its feature set, all in all I’ve been pleased to run it to make my server updates a bit smoother. I used to run an Ansible script for that, and while a fully working option, makes Arc just feel a bit more robust of a solution, and since I’m monitoring updates in another tenant running my own on the side works well as a learning experience as well.