The importance of data encryption cannot be overstated, and this is even more crucial with cloud-based workloads. Now, more often than not, the default settings do include some level of encryption capabilities, but a lot is left to the user—or, in the usual case, the administrator—to handle themselves. Azure, like other cloud service providers, does offer these tools, but as you may know, sometimes it’s a bit hard to find the right things you may need. In this article, we delve into the process of encrypting a Windows VM using Azure CLI and PowerShell with the help of Key Vault.
Understanding disk encryption in Azure
Before we get started, it’s good to understand the main goal of this exercise. When you deploy a virtual machine on Azure, by default, the OS disk gets encrypted with a platform-managed key. I wrote a little about encryption on Azure previously in an entry titled “Storing Custom Encryption Keys in Azure Key Vault for VM Encryption”1, but essentially, in order to encrypt the temp disks, disk caches, and the flow to storage clusters we need to apply the encryption either by using a platform-managed key or a customer-managed key from the Key Vault.
Last time, my article ended up being quite long and technical, so maybe this time, with the help of WhizLabs, we’ll end up with a bit shorter and more concise lab exercise. There’s still lots of hands-on work to be done, so let’s get started.

Using Bash
In this instance, I’ll just skip over setting up the Cloud Shell completely; it’s such a straightforward thing anyway.
Creating the resources
We’ll be needing a virtual machine and a Key Vault, so let’s start with the VM:
1
2
3
4
5
6
7
az vm create \
--resource-group <ResourceGroupName> \
--name <VMName> \
--image win2022datacenter \
--size Standard_B2s \
--admin-username <Userame> \
--admin-password <Userpassword>

Once that’s deployed, we can create the Key Vault. Remember that the Key Vault name has to be globally unique.
1
2
3
4
5
az keyvault create \
--name <UniqueKeyVaultName> \
--resource-group <ResourceGroupName> \
--location "eastus" \
--enabled-for-disk-encryption

Applying the encryption
Finally, we can apply the encryption to the VM using our Key Vault, which will create the secret that’s used for the encryption.
1
2
3
4
az vm encryption enable \
--resource-group <ResourceGroupName> \
--name <VMName> \
--disk-encryption-keyvault <KeyVaultName>
If you want to specify the volume the encryption operation should be performed on, you can use the flag --volume-type with the potential values of ALL, DATA or OS. If not supplied, the operation defaults to OS.
Finally, you can check the encryption status with the following command:
1
2
3
az vm encryption show \
--name <VMName> \
--resource-group <ResourceGroupName>

Using PowerShell
In the undying words of Teletubbies, “Again! Again!”. This time we’ll do the same thing again, but by using PowerShell via the Cloud Shell.
Creating the resources
Since we already have the Key Vault created, let’s just skip creating another one, but the PowerShell command to create it should you want or need to is as follows:
1
2
3
4
5
New-AzKeyvault `
-name <UniqueKeyVaultName> `
-ResourceGroupName <ResourceGroupName> `
-Location EastUS `
-EnabledForDiskEncryption
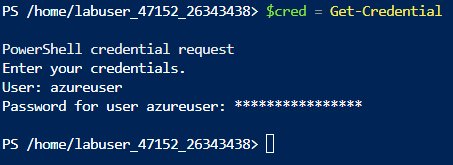
For the VM, let’s first assign some user credentials:
1
$cred = Get-Credential
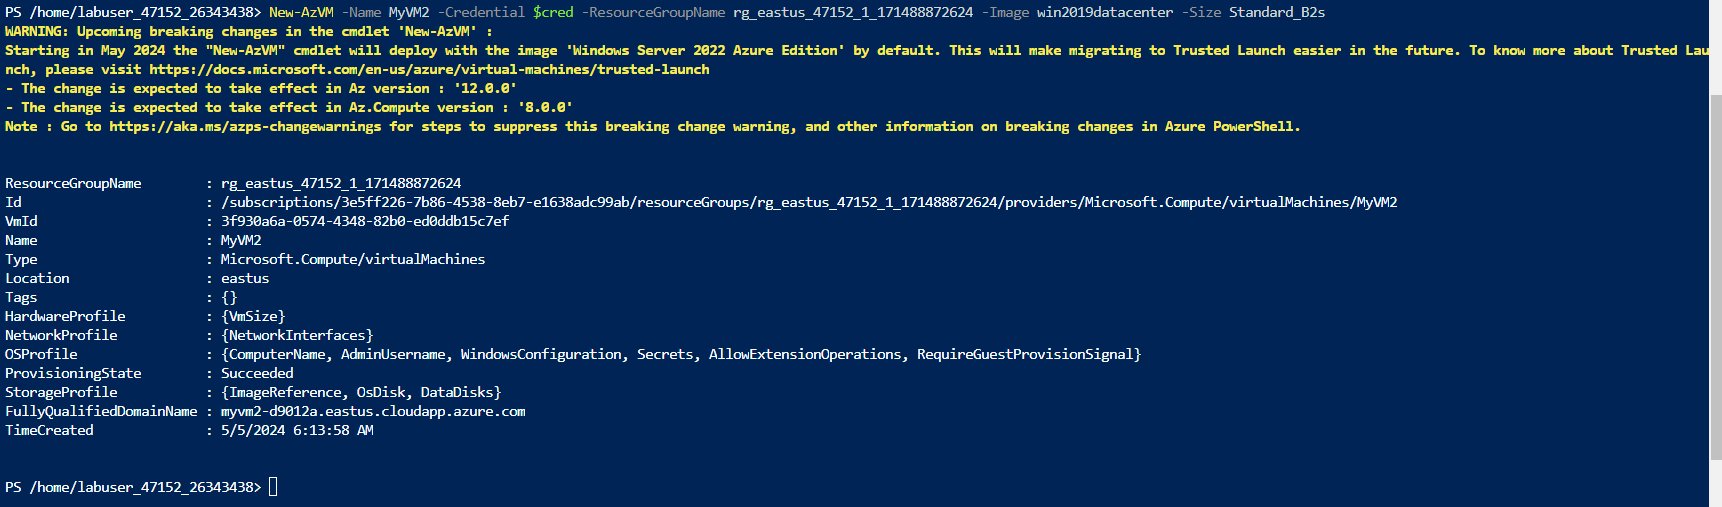
And then deploy the VM with the following command:
1
2
3
4
5
6
New-AzVM `
-Name <VMName> `
-Credential $cred `
-ResourceGroupName <ResourceGroupName> `
-Image win2019datacenter `
-Size Standard_B2s
Applying the encryption
The final step is to, again, run the encryption operation. We’ll be running two commands, one to set a variable called $KeyVault which gets the Key Vault information, and then another command to enable the encryption using the supplied information.
1
2
3
$KeyVault = Get-AzKeyVault `
-VaultName <UniqueKeyVaultName> `
-ResourceGroupName <ResourceGroupName>
1
2
3
4
5
6
7
Set-AzVMDiskEncryptionExtension `
-ResourceGroupName <ResourceGroupName> `
-VMName <VMName> `
-DiskEncryptionKeyVaultUrl $KeyVault.VaultUri `
-DiskEncryptionKeyVaultId $KeyVault.ResourceId `
-SkipVmBackup `
-VolumeType All
Like with Bash before, the -VolumeType flag can be ALL, DATA or OS, and it’s only required with Linux hosts. On Windows it can be omitted, which will then default to ALL. Do note, though, that if used, it can only be set to OS or ALL. Confused yet? Yeah, me too.

And finally, the encryption status can be verified with the command:
1
2
3
Get-AzVmDiskEncryptionStatus `
-VMName <VMName> `
-ResourceGroupName <ResourceGroupName>

Conclusion
While this is once again something that’s probably more commonly done via the Portal, given the sporadic nature of such a need, it’s always nice to play around with the CLI and to lesser extent PowerShell. As far as labs go, this one was a reasonably simple and straight-forward one, but it gives a nice overview of working with Azure CLI and PowerShell using the Cloud Shell, and CLI usage in general is something that will come in handy if you’re ever working on repetitive tasks.
Footnotes
-
Storing Custom Encryption Keys in Azure Key Vault for VM Encryption: https://nevaluoto.fi/posts/storing-custom-encryption-keys-azure-key-vault-vm-encryption/ ↩